Your Cart is Empty
Free Shipping On Most Orders Over $150

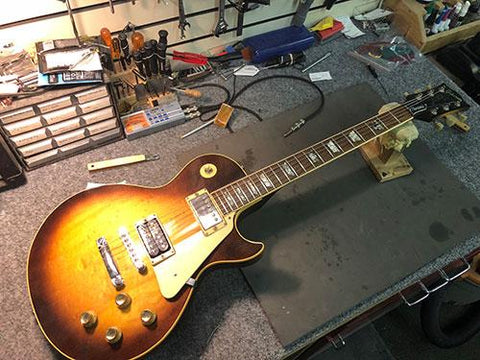
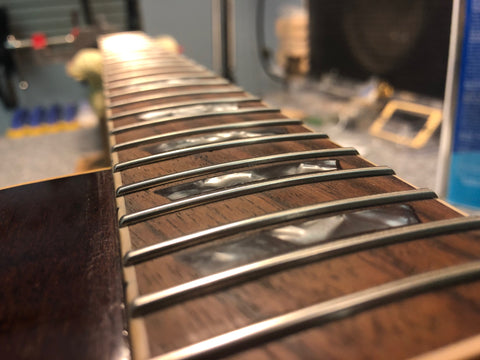
In today's post I will be featuring this 1970's Gibson Les Paul. A customer dropped it off to have some new frets installed.

Over the many years this guitar has been played, the frets have worn to the point that it's causing some issues.

In this shot you can really see how low and worn they are. When frets become too low and worn, playability and intonation can be very affected. The only way to remedy this, is to installed all new fretwire.
First step is to remove the original fretwire.

I like to give the fretwire a little heat to help coax it from the fingerboard. I use a soldering iron and rest it on the fret until warm. This helps release some oils in the fingerboard and help to reduce chip out when I pull the fretwire.

I then use these knippers to gently "lift" the fretwire. I take this step as slow as needed. As fretwire is pulled from the fingerboard, it can easily chip out the wood. So taking it easy is the way it needs to be done.

This fingerboard was some what rotting away. As you can see in this photo, there is some green stuff in the fret slot. The wood was falling apart. These kind of things happen with older instruments. It's something I will need to address when I go to install the new fretwire.

Once all the frets have been removed, the next step was to sand the fingerboard flat again. This guitar had a little twist in the neck that I was able to take care of while sanding the fingerboard. Along with that, I will prep each slot to accept the fretwire.


Every fret is cut to length. Each fret is also filed and prepped to fit in the slots.

Each fret is then hammered in the neck. I also take an extra step here and glue each fret. You can see the shine of the glue on the fingerboard. Once dried, I will come back and clean up all the glue squeeze out.
Here's a shot off all the frets installed. You will notice that they are extra long and hang over the binding. Next step will be to trim and file the frets ends.

Clipping the ends.
Once they have been clipped, I will then file all of them to be flush with the fingerboard.
Clipped and filed!
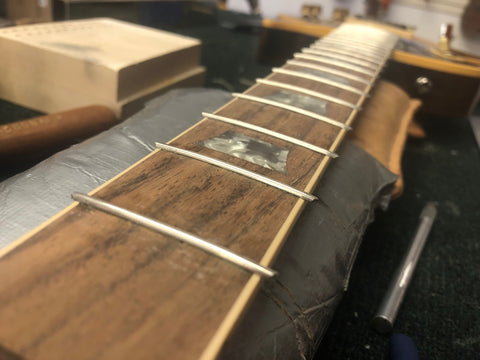
Next step is to tape the fingerboard off and level the tops of all the fretwire.

I tape the neck off so I can sand and polish the fretwire without messing with the fingerboard.

I mark each fret with marker. This way when I'm sanding and leveling the fretwire, I can see my progress.

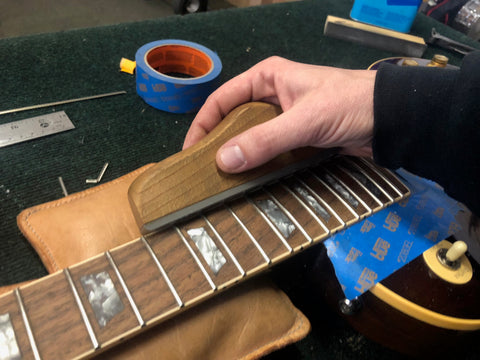
Here I'm using a precision leveling beam with sandpaper attached to level every fret.

In this photo I'm checking the level of all the frets with a good straight edge. This allows me to see if there are any low or high spots.

Next step is to round over the fret tops. During the leveling process, the fret tops become flattened. Every fret will then get rounded over and polished. Here I'm using a special diamond coated file to round them over.

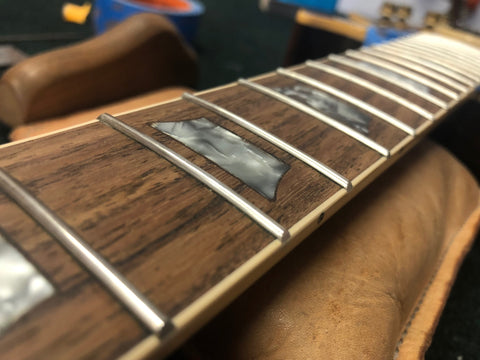
Here's a shot of the frets after I have filed them, just before I sand and polish them.


I will progress through the grits of sandpaper, ending with some polishing.
Here's a final shot after they have been sanded and polished.. Nice and shiny!

Final steps were a new bone nut and setup.


All done! This was a very involved refret with it's up and downs, but it turned out amazing! It sounds and plays like a new instrument....
On to the next job!


